Wednesday, 28 December 2011

Pin Pricking

I was looking at the photos that I had taken of my paper cutting and was really interested in the negative spaces. I decided to try doing a pin pricking picture.

I chose the photo I was going to use and stuck it to a sheet of black paper with blue tak. I got a cushion and placed the photo and paper on it, both on my lap, and started sticking the pin in the paper around the outlines that I saw.


Once I was finished I then stuck it on a window to show daylight shining through the holes. I really like how it turned out.


Dry Point Print

I got some acetate and a steel nail and started drawing out some leaves of various sizes on the acetate. Once done I took it down to the print room and started to work on it.

I first applied ink with a piece of rubber, then wiped off the excess.

I then wiped it with scrim (a losely woven material) to make sure that I didn't wipe too much of the ink off.

Next I rubbed it over with a piece of paper from an old phone book.

I then wiped the area around the markings with a soft blue cloth to clean it up.

I prepared a piece of paper by dipping it into a sink of water and laid it on an upright board. Here I used a roller to flatten it to ensure to air bubbles were evident. I then placed the paper inbetween two pieces of newsprint to get rid of the excess water. Next I placed my dry point acetate on the printing press and put the dampened paper on top of it. I then placed a sheet of newsprint on top then two blankets. I started rolling the machine (as seen above).


Once I rolled it all the way through I lifted up the blankets and newsprint and was left with my print.


I did a few more prints and decided to try it on the reverese of the acetate too. It wasn't as clear as the previous prints, but I was glad I tried it to see the effect.

Wednesday, 21 December 2011

As Monty Python would say.... And now for something completely different.........

At the end of November all 1st years went to a Sound Sculpture workshop with Sean Taylor. I really didn't know what to expect. It was really interesting.

As part of the workshop we all had to go out into the city and record a 30 second clip of a sound that we like / interested us. So between all of us we recorded a range of sounds varying from pedestrian crossings, traffic, coffee machines to humming. We were then all assigned into our various groups and placed around a recorder. It was recorded and put up on the internet. I've attached the link to it. It was great crack.


Enjoy!!

Sunday, 11 December 2011

Lino Print

I wanted to do something in print and went back to my paper cutting. I took some close up photos and printed out one in particular.

I put some tracing paper over it and drew an outline of the image. I then rubbed charcoal on the back and place it on a piece of lino. I drew over the outline again and this left the imprint on the lino.

I blacked out the positive space that I wanted and then started cutting out the negative space on the lino.

I then went down to the Print Room and rolled some ink on the lino cut.

I put it in the roller and paper on top. This is what came out.

I was delighted with it! Loved working in the Print Room. Hope to get there again to try some monoprinting.


This is the final piece mounted.

Cone shaped swirl & Ceramic piece

I went to the exhibition Transform and really loved the work by Nuala O'Donovan and Jennifer Hickey. I looked at the movement of the leaves - swirling, and also at what happened to the leaves over time. They dried out and curled inwards. From there I started working on some paper rolling.
I took some pictures of some leaves

I rolled some paper into cone shapes (replicating the shape of dried leaves)


I started attaching them together
 
I wanted them to be in the shape of a swirl, like what leaves do in the wind


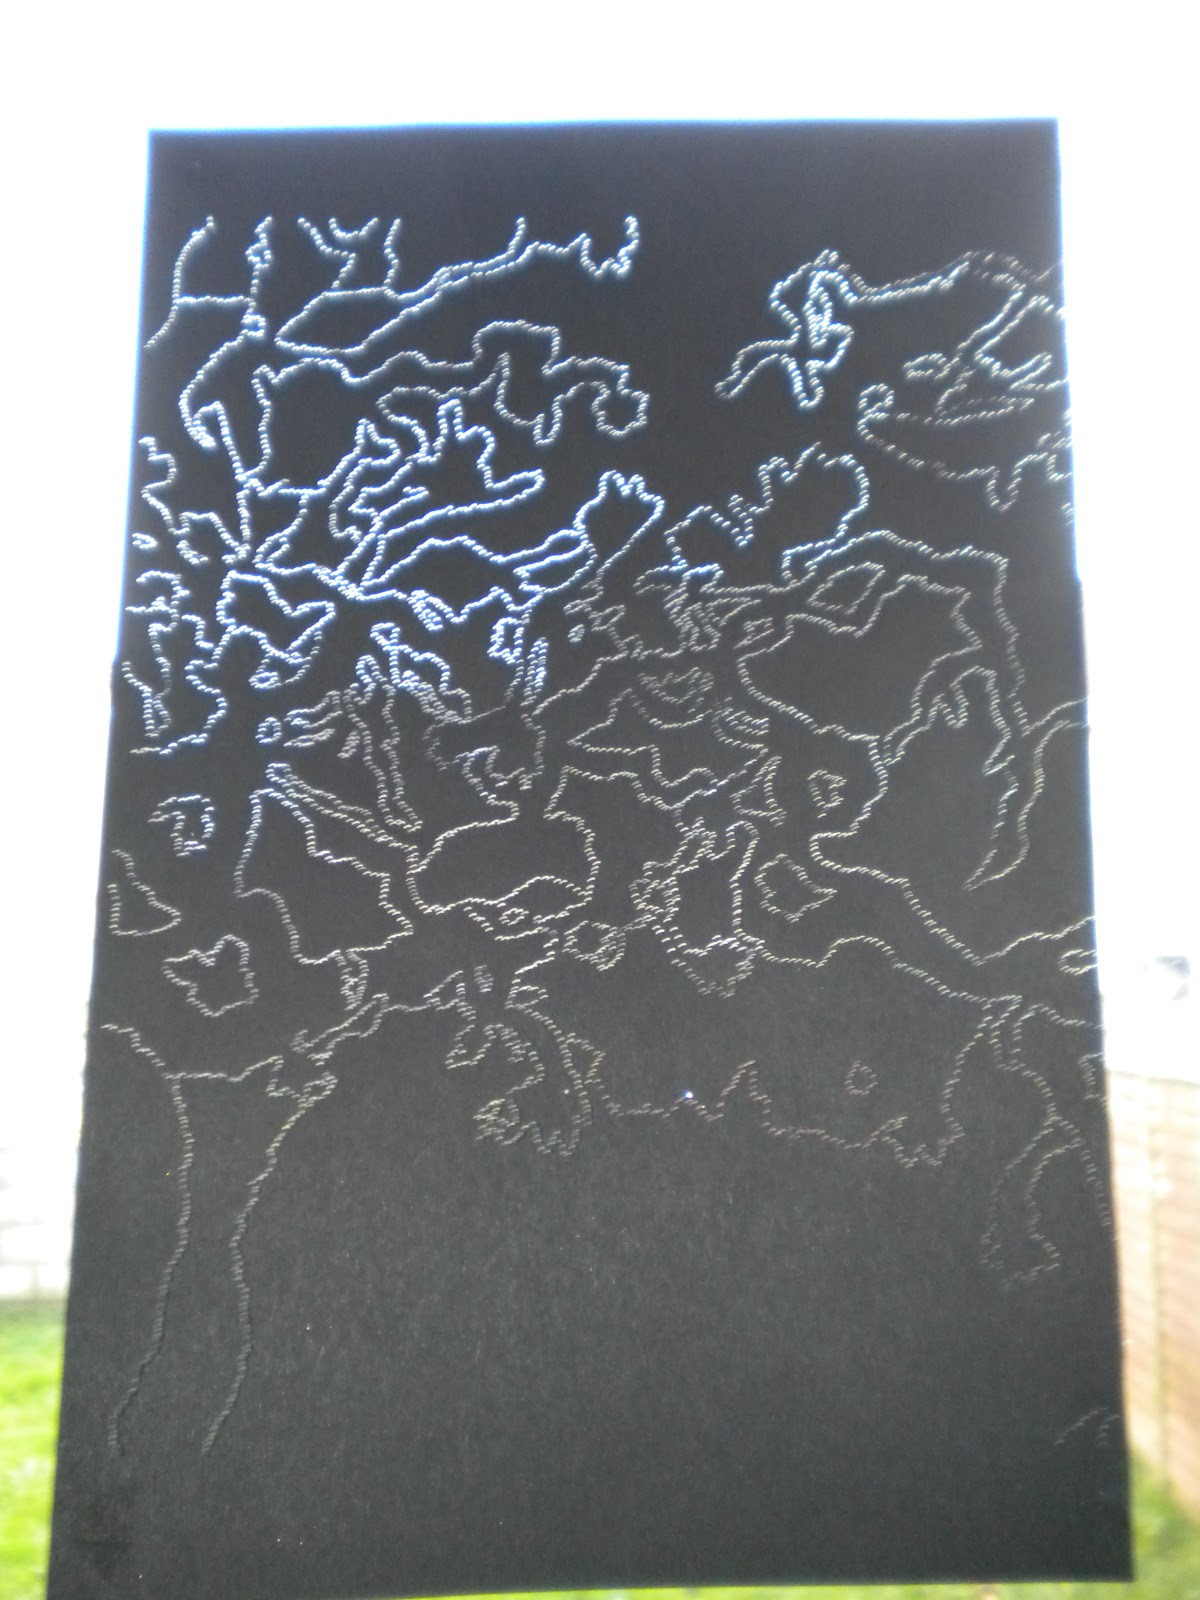
I hung it up on the window beside my studio space. I love the way it looks. It was very delicate as it was made of paper. I wanted to explore this further with ceramics.


I went to a ceramics workshop and for the first time ever used clay!! It was great!! I rolled out some clay and cut out squares. I then coned them and started joining them together.


It then went in to be fired


After that it had to be glazed. I used a Red Iron Oxide glaze. This colour leaves a brown rusty colour. This was to imply dried leaves. This glaze was painted on with a brush and sponge. At different stages of the painting, I ran it under the tap and this gave it various shades.


Final step, it had to be fired again.


I really loved working with this. Hope to get to the Ceramics Dept. again before Christmas break!

Finally!! An update!! 3D Wire and Knit piece


I've been off the radar for a while getting 2 essays out of the way. Finally they're done! No point thinking about them now. Been working on a few things. I tried experimenting with dying cotton and muslin with various berries, spices, vegetables and food dye. It didn't work out quite like I wanted, but I'll get back to it.

I wanted to look at making a leaf in 3D format. I started with a photo of a leaf and then sketched it. I worked with wire and made the shape of the leaf. I knitted a piece which would cover the wire frame. This piece was knitted with video cassette tape. It was a tricky medium to use to knit with but once knitted it gives the texture and rustling sound of dried leaves. It was great to experiment with.


Sunday, 4 December 2011

Car Cemetery

I know this is a little off the track of my project but I came across this link and am blown away. It is kinda linked to my project as it shows the strength of trees and the power of nature. Also I love Sigur Ros! Enjoy it!


Monday, 7 November 2011

Self Portrait

Well, here's something a little different. We were to do a self portrait photograph that was best to describe ourselves. I couldn't think of what to do but eventually went with a game theme. I love Resident Evil, a playstation game. I decided to try and incorporate a photo of myself in with the background of the Umbrella Corporation, the corrupt organisation that devise biohazard weaponary and ultimately turns people into zombies!!!

I took some photos of myself in zombie mode (as you do...) and went with this one. Very attractive eh???

I then got the background I was looking for.


I then changed the image of myself to black and white and combined the two together using 'Serif Photo Plus'. This is my final self portrait............

 This was great craic! I loved playing with it!
So this will be part of 179 other photos and be on display soon. It'll be great seeing it up.